
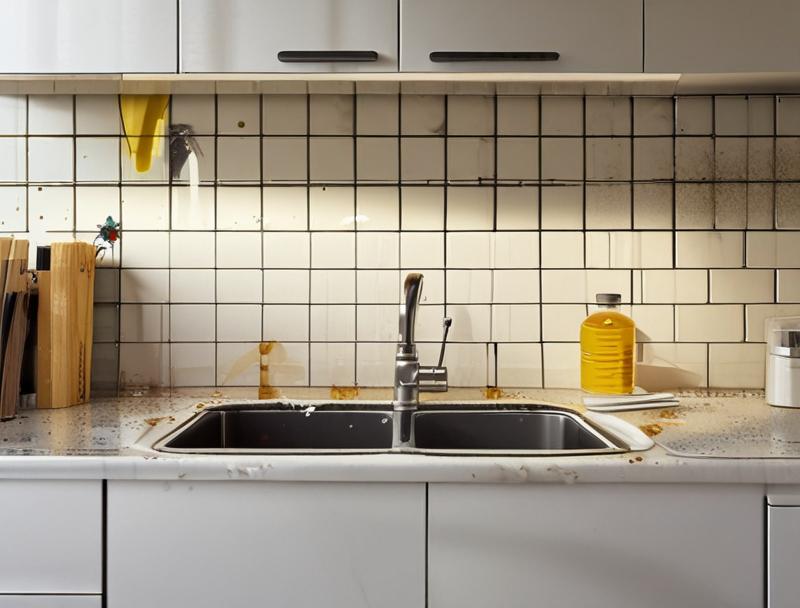
Cleaning your tile backsplash can sometimes feel tricky. You might worry about leaving behind annoying water spots or soap scum that just won’t budge. It’s a common puzzle for many people when they first try to get their kitchen or bathroom tiles sparkling.
But don’t fret! We’ll walk you through a super simple way to achieve a streak-free shine. Get ready to see your backsplash look brand new with just a few easy steps that anyone can follow.
Why Your Tile Backsplash Gets Streaks
When you’re trying to get your tile backsplash looking its best, streaks can be a real headache. They pop up for a few simple reasons, and knowing these helps a lot. Often, it’s because the cleaning solution isn’t right for the job, or you’re using too much of it.
Hard water can also play a big part, leaving behind mineral deposits that look like streaks. Sometimes, the tools you use can make things worse if they aren’t clean or if they leave lint behind. We’ll help you sort this out so you get that clean, clear look you want.
The Role of Water Quality
Water is a key ingredient in cleaning, but its quality can really affect your results. Tap water, especially in many areas, is what we call “hard water.” This means it has a lot of dissolved minerals in it, like calcium and magnesium. When you use this water to clean your tiles and then let it dry, those minerals are left behind.
They form a dull film or spots that look a lot like streaks. Even if you wipe everything down, these mineral deposits can stay on the surface. This is why even a good scrub can end up looking messy.
Using distilled water can make a big difference. Distilled water has had most of its minerals removed through a process called distillation. Think of it like boiling water and collecting the steam, then letting it cool back into liquid.
This pure water doesn’t leave any mineral residue behind. So, when you use distilled water in your cleaning mix or for rinsing, you’re much less likely to see those stubborn streaks. It’s a simple switch that offers a noticeable improvement in how clean your tiles look after you’re done.
Common Cleaning Mistakes
Many people make a few common slips when cleaning their tile backsplash, which leads to streaks. One big mistake is using too much cleaner. More cleaner doesn’t always mean cleaner tiles; in fact, it can leave a sticky residue that attracts dirt and makes streaks worse.
Another error is not rinsing thoroughly enough. If you leave soap or cleaner on the tiles, it will dry and cause those frustrating lines. Some people also use dirty cloths or sponges.
If your cleaning tools aren’t clean, you’re just spreading grime around.
Using the wrong cleaning product is also a frequent pitfall. Some cleaners are too harsh for certain tile surfaces and can leave a haze. For instance, ammonia-based cleaners can work well, but if not diluted properly, they can leave a film.
Acidic cleaners, like those with vinegar, can also be too strong if used directly. Always check what your tile manufacturer recommends. Different types of tile, like natural stone or glazed ceramic, need different care.
Using a product meant for one might damage or dull another, causing streaky marks.
Choosing the Right Cleaning Tools
The tools you choose are just as important as the cleaning solution itself. Using a sponge that leaves lint behind, like a common kitchen sponge, can transfer those tiny fibers onto your wet tiles, creating a streaky appearance once dry. Similarly, paper towels can sometimes break down and leave behind small pieces that are hard to remove and look like smudges.
For best results, opt for tools that are known to be lint-free. Microfiber cloths are excellent for this purpose. They are designed to trap dirt and moisture without leaving any residue behind.
A soft-bristled brush can be helpful for scrubbing grout lines without damaging the tile. However, for the tile surfaces themselves, a gentle touch is usually best. Avoid abrasive scrubbers or steel wool, as these can scratch the glaze on your tiles, creating dull spots that can mimic streaks and are permanent.
Make sure your tools are always clean before you start. A dirty microfiber cloth will simply spread dirt and grease, leading to more streaks instead of a clean finish. Having a few clean cloths ready will make the job much easier and more effective.
How to Clean Tile Backsplash Without Streaks
Getting your tile backsplash to shine without any annoying streaks is totally achievable. It all comes down to using the right methods and materials. We’ll guide you through a simple process that focuses on effective cleaning and proper drying.
This approach will help you avoid the common problems that lead to streaks, making your kitchen or bathroom look much cleaner and brighter. Follow these steps, and you’ll be enjoying a spotless backsplash in no time.
Preparing Your Cleaning Solution
Creating the perfect cleaning mix is the first big step to avoiding streaks. You don’t need fancy or harsh chemicals. A simple and effective solution can be made right in your kitchen.
The key is to use mild ingredients and the right proportions. For most glazed ceramic and porcelain tiles, a gentle cleaner works best. This protects the tile’s finish while still lifting grime and grease.
Avoid anything too acidic or alkaline unless your specific tile type calls for it.
A great go-to solution is warm water mixed with a small amount of dish soap. Look for a pH-neutral dish soap if possible. You only need a tiny drop or two for a bucket of warm water.
Too much soap will leave a residue, which is a main cause of streaks. Another effective option is a mixture of equal parts white vinegar and warm water. Vinegar is great for cutting through grease and soap scum.
However, if you have natural stone tiles like marble or granite, avoid vinegar as its acidity can etch the stone. For those, stick to a pH-neutral cleaner or just mild dish soap and water.
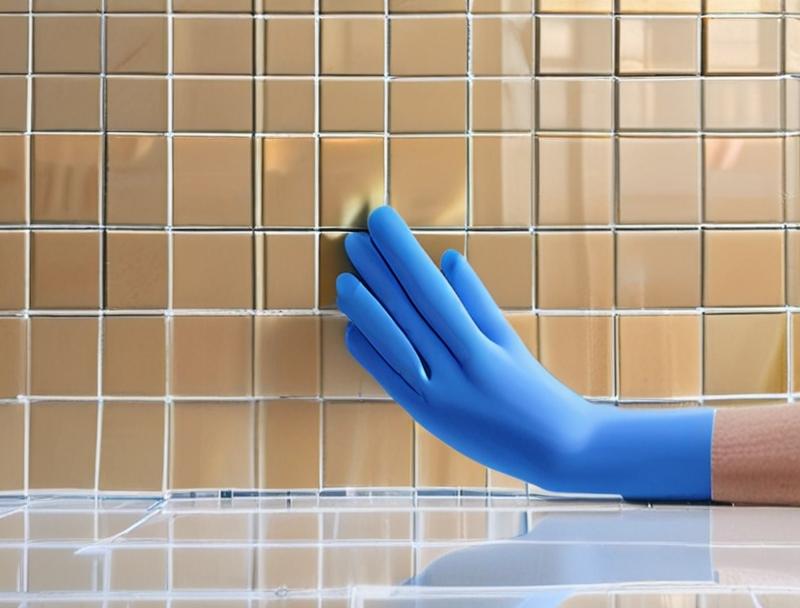
Step-by-Step Cleaning Process
Now let’s get down to cleaning! Start by clearing everything off your backsplash. This gives you full access to all the tile surfaces.
Next, take a soft cloth or sponge and dip it into your cleaning solution. Wring it out well so it’s damp, not dripping. Gently wipe down the tiles, working in small sections.
Pay extra attention to areas near the stove or sink where grease and splatters are common.
After wiping a section, it’s crucial to rinse. Use a separate clean cloth dampened with plain water, preferably distilled water if you have it. Wipe the tiles again to remove any soap or cleaner residue.
This rinsing step is vital for preventing streaks. If you used a vinegar solution, rinse thoroughly with plain water to remove the vinegar smell and any lingering acidity.
The Art of Drying and Buffing
Drying is just as important as cleaning when you want a streak-free finish. Once you’ve rinsed the tiles, grab a clean, dry microfiber cloth. Microfiber is the best choice because it’s highly absorbent and doesn’t leave lint behind.
Gently wipe the tiles to remove all moisture. Work in the same small sections you cleaned. This prevents water from air-drying and leaving mineral spots, which are a type of streak.
For an extra shine, you can lightly buff the tiles after they are dry. Use a fresh, dry section of your microfiber cloth or a separate, clean one. Make light, circular motions over the tile surfaces.
This buffing action helps to remove any last traces of moisture or cleaner and gives your backsplash a polished, streak-free gleam. It makes a big difference in the final look.
Dealing with Stubborn Stains and Grout
Sometimes, your backsplash might have tougher spots that a regular cleaning can’t tackle. For dried-on food or tough grease, you can try making a paste of baking soda and water. Apply this paste to the stain and let it sit for a few minutes.
Then, gently scrub with a soft brush or sponge. Rinse thoroughly afterwards.
Grout lines can be a challenge too. They tend to absorb stains and grime. For grout, a paste of baking soda and hydrogen peroxide can be very effective.
Apply it to the grout, let it sit for about 10-15 minutes, then scrub with a grout brush or an old toothbrush. Rinse well. Be careful not to let these stronger cleaners sit on the tile itself for too long, as they can sometimes affect the finish.
Always test in an inconspicuous area first.
Tips for Maintaining a Streak-Free Backsplash
Keeping your tile backsplash looking clean and streak-free in the long run is all about regular care and quick clean-ups. It’s much easier to prevent streaks than to remove them once they’ve set in. By incorporating a few simple habits into your routine, you can maintain that sparkling finish with minimal effort.
Think of it as giving your backsplash a little TLC regularly rather than waiting for a big, tough cleaning job.
Daily Wipe-Downs
One of the most effective ways to keep your backsplash looking great is to do quick wipe-downs every day. After cooking or using the sink, take a damp cloth and wipe away any splatters or drips. This prevents food particles, grease, and water spots from drying and becoming hard to remove.
A quick pass with a damp microfiber cloth is usually all it takes.
This simple habit stops problems before they start. Instead of facing a tough cleaning chore at the end of the week, you’re simply maintaining the cleanliness. If you notice a spill, address it immediately.
Don’t let it sit and dry. This daily attention means that when you do a more thorough cleaning, it will be much faster and easier, and you’re far less likely to encounter stubborn streaks.
Using Protective Treatments
For some types of tiles, especially natural stone or unglazed tiles, using a protective sealant can be beneficial. Sealants help to repel liquids and stains, making them easier to wipe away. They create a barrier on the surface of the tile and grout, preventing them from absorbing spills.
This means less chance of permanent staining and easier cleaning down the line.
The type of sealant you need will depend on your specific tile material. For grout, sealants are especially helpful as grout is porous and can easily absorb grease and grime. You’ll need to reapply sealants periodically, as their effectiveness wears off over time.
Check the manufacturer’s recommendations for your tiles and grout to determine the best sealant and how often to apply it. This preventative step significantly reduces the effort needed for regular cleaning.
Choosing the Right Routine
Developing a regular cleaning routine is key to keeping your backsplash pristine. Instead of waiting until it looks visibly dirty, aim for a consistent schedule. For most kitchens, a light cleaning once a week is usually sufficient.
This might involve a quick spray with a mild cleaner or a wipe-down with soapy water, followed by rinsing and drying.
Twice a year, you might want to do a deeper clean. This deeper clean can address any grout discoloration or persistent spots that have built up. It’s also a good time to inspect your tiles and grout for any signs of wear or damage.
By sticking to a routine, you prevent grime from becoming ingrained, making the entire process of keeping your backsplash looking its best much more manageable. A consistent approach prevents major cleaning challenges.
Advanced Techniques for a Perfect Shine
While simple methods often suffice, sometimes you might want to go the extra mile to achieve a truly flawless, mirror-like shine on your tile backsplash. These advanced techniques involve paying closer attention to details and using specific tools or solutions that can elevate the final appearance. They are perfect for those moments when you want your backsplash to truly pop and look professionally cleaned.
The Importance of Distilled Water
We mentioned distilled water earlier, but its role in achieving a truly streak-free finish cannot be overstated. As we discussed, tap water contains minerals that leave behind a residue when they dry. Even the most careful wiping can’t always get rid of these tiny mineral deposits.
Distilled water, however, is free from these minerals.
Using distilled water for your final rinse and for any spray solutions you use ensures that nothing is left behind on the tile surface except a clean shine. It’s a small change that can make a significant difference, especially if you live in an area with hard water. Think of it as the secret ingredient for that crystal-clear look that resists showing smudges and water marks.
It’s a simple upgrade that offers professional-level results.
Using Squeegees for Large Areas
If your tile backsplash covers a large area, especially in a shower or a very expansive kitchen, using a small squeegee can be a game-changer for drying. After cleaning and rinsing, instead of relying solely on cloths, you can use a squeegee to quickly remove excess water. This method is very effective at preventing water spots from forming as the tile dries.
Choose a squeegee with a soft, flexible rubber blade. Hold it at a slight angle to the tile and pull it downwards or across the surface in smooth, overlapping strokes. Wipe the squeegee blade clean with a microfiber cloth after each stroke to avoid spreading water.
Follow immediately with a dry microfiber cloth to buff away any remaining moisture and ensure a streak-free finish. This technique is particularly useful for larger, flat tile surfaces where water can pool.
Steam Cleaning for Deep Grime
For a truly deep clean and a brilliant shine, steam cleaning can be an excellent option for many types of tile backsplashes. A steam cleaner uses hot vapor to loosen dirt, grease, and grime without the need for harsh chemicals. The high heat also sanitizes the surface, which is an added benefit, especially in kitchen environments.
When using a steam cleaner, ensure it has an appropriate attachment for tile surfaces, often a brush or a nozzle designed for flat surfaces. Keep the steamer moving constantly to avoid damaging the grout or tile sealant. After steaming, you’ll still want to follow up with a dry microfiber cloth to remove any residual moisture and buff the surface to a shine.
It’s a powerful method for tackling built-up grime and achieving a superior clean.
Frequently Asked Questions
Question: How often should I clean my tile backsplash?
Answer: For best results and to avoid streaks, aim for a quick wipe-down after cooking or using the sink daily. A more thorough cleaning can be done weekly. Deeper cleaning twice a year will keep it looking its best.
Question: Can I use household cleaners like Windex on my tile backsplash?
Answer: While some Windex formulas might work, it’s best to use mild, pH-neutral cleaners or a simple mix of dish soap and water. Harsh chemicals or ammonia can sometimes leave residue or damage certain tile finishes, leading to streaks.
Question: What if my grout is stained and won’t come clean?
Answer: For tough grout stains, try a paste made from baking soda and water, or baking soda and hydrogen peroxide. Let it sit, then scrub with a grout brush. Rinse very well to avoid residue.
Question: Can I use vinegar to clean my tile backsplash?
Answer: Yes, a diluted mixture of white vinegar and water can be effective for cutting grease. However, avoid using vinegar on natural stone tiles like marble or granite, as its acidity can etch the surface and cause dullness.
Question: How do I get rid of water spots on my tile backsplash?
Answer: Water spots are mineral deposits left by drying water. To prevent them, dry your backsplash thoroughly with a clean microfiber cloth after cleaning and rinsing. Using distilled water for rinsing also helps.
Summary
Cleaning your tile backsplash without streaks is simple when you use the right approach. Focus on mild cleaners, thorough rinsing with plain or distilled water, and immediate drying with a lint-free cloth. Regular quick clean-ups prevent buildup.
By following these easy steps, you’ll achieve a sparkling, streak-free finish on your tiles.