

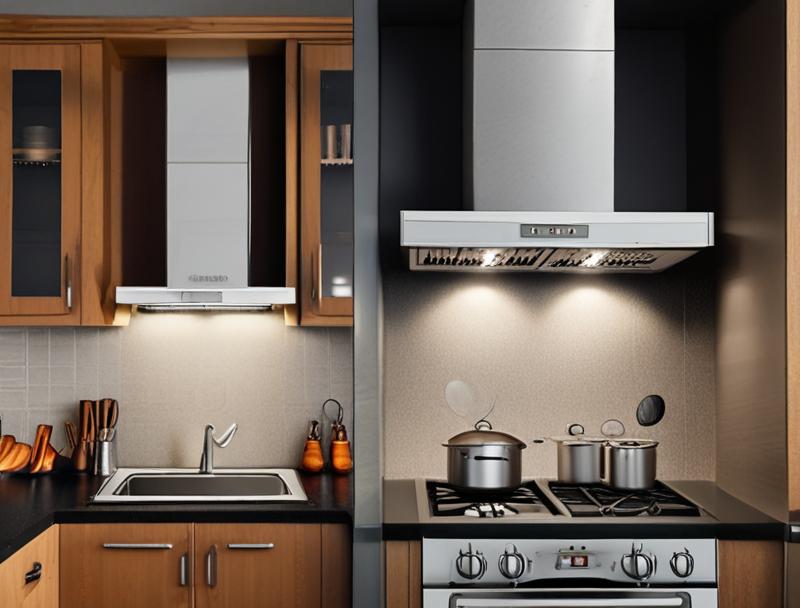
Cleaning your range hood filters might seem tricky, especially if you haven’t done it before. Grease can build up, making them look pretty grimy. But don’t worry!
It’s actually quite simple. We’ll walk you through it step-by-step so you can get them sparkling clean. Get ready to learn the best way for How to Clean Range Hood Filters at Home without any fuss.
Why Cleaning Your Range Hood Filters Matters
Keeping your range hood filters clean is super important for a few big reasons. First off, it helps your kitchen stay fresh and smelling good while you cook. When filters get clogged with grease and grime, they can’t do their job of sucking up smoke and smells as well.
This means those cooking odors stick around your kitchen longer. Also, clean filters help your range hood work better and last longer. A well-working hood is key for a healthy kitchen environment.
The Air Quality Connection
Your range hood is like the lungs of your kitchen. It breathes in smoky, greasy air and breathes out cleaner air. When the filters are dirty, it’s like those lungs are stuffed up.
This can make the air quality in your home go down. You might notice more dust or even feel like the air is heavy. Cleaning the filters regularly ensures you’re breathing in cleaner air while you cook, which is better for everyone.
- Better Odor Control: Clean filters trap cooking smells more effectively. This means your kitchen won’t smell like last night’s dinner for days. It makes your cooking experience much more pleasant.
- Improved Airflow: When filters are dirty, air can’t move through them easily. This makes your range hood fan work harder than it needs to. Cleaning them lets air flow freely, so the fan does its job efficiently.
- Fire Prevention: Grease buildup on filters can be a fire hazard. If enough grease collects, it could potentially catch fire from the heat of your stove. Regular cleaning removes this risk.
Extending Range Hood Lifespan
Think of your range hood like a car. If you don’t take care of it, it won’t run well for long. Cleaning the filters is like giving your car an oil change.
It’s basic maintenance that keeps everything running smoothly. A range hood that’s working hard because of clogged filters will wear out its motor faster. This means you might have to replace it sooner than you’d like.
- Reduced Strain on Motor: A clean filter allows air to pass through with less resistance. This means the motor doesn’t have to push as hard, reducing wear and tear. This is a simple step to keep your appliance in good shape.
- Preventing Overheating: When the motor is overworked due to poor airflow, it can overheat. Overheating can lead to electrical issues and permanent damage to the motor, requiring costly repairs or replacement.
- Maintaining Efficiency: A clean range hood is an efficient range hood. It uses less energy to perform its task, which is good for your electricity bill and the environment.
Types of Range Hood Filters
There are two main kinds of filters you’ll find in range hoods: baffle filters and mesh filters. Each type works a bit differently and needs slightly different care. Knowing which one you have will help you clean it the right way.
Most modern hoods use baffle filters because they’re really good at catching grease. Mesh filters are older but still found in some models.
Baffle Filters Explained
Baffle filters are made of metal, usually stainless steel. They have a wavy, layered design. This design creates many edges and turns that grease particles bump into.
As the grease hits these edges, it gets trapped. The air then moves on, much cleaner. These filters are great because they are very durable and can be washed many times.
- How They Trap Grease: The unique shape of baffle filters makes grease stick to the metal surfaces. It’s like a maze for the grease. Air flows through the gaps, but the grease particles get snagged.
- Durability: Because they are made of sturdy metal, baffle filters can withstand washing and reuse. This makes them a cost-effective choice over time, as you won’t need to replace them often.
- Cleaning Ease: While they can get quite greasy, baffle filters are generally easier to clean than mesh filters. Their smooth metal surfaces allow for easier scrubbing and rinsing.
Mesh Filters Detailed
Mesh filters are usually made of aluminum or sometimes stainless steel. They look like a screen, with tiny holes woven together. Grease particles get caught in these small holes as the air passes through.
Over time, these holes can get so full of grease that they become blocked, stopping airflow. These filters can be a bit trickier to clean thoroughly because the grease gets deep into the mesh.
- The Mesh Design: The fine mesh is what catches the grease. Tiny grease droplets are too big to fit through the small holes. Think of it like a very fine sieve catching tiny particles.
- Potential for Clogging: The main issue with mesh filters is their tendency to clog. If not cleaned often, the grease can pack so tightly that air can barely get through. This reduces the hood’s effectiveness significantly.
- Cleaning Challenges: Getting all the grease out of the tiny holes in a mesh filter can be tough. You often need to soak them for a while to loosen the buildup before scrubbing.
Step-by-Step: How to Clean Range Hood Filters at Home
Now, let’s get down to the actual cleaning! It’s not as hard as it might seem. You’ll need a few common household items.
The most important thing is to be patient, especially if your filters are very greasy. We’ll break it down into easy steps so you can follow along at home.
Gathering Your Supplies
Before you start, make sure you have everything you need. This will make the cleaning process much smoother. You won’t have to stop and search for things halfway through.
Having all your supplies ready is a key part of making this task easy.
- Hot Water: This is your best friend for cutting through grease. The hotter, the better.
- Dish Soap: A good degreasing dish soap is essential. It helps break down the grease.
- Baking Soda: This is a natural cleaning booster. It helps lift stubborn grease and odors.
- Soft Brush or Sponge: You’ll need something to scrub with. Avoid anything too harsh that could scratch the metal.
- Gloves (Optional but Recommended): Grease can be sticky, and hot water can dry out your hands. Gloves help keep your hands clean and protected.
- A Sink or Large Basin: You need a place to soak and wash the filters. A large kitchen sink or a plastic wash basin works well.
- Old Towels or Newspaper: To protect your countertops and floor from drips.
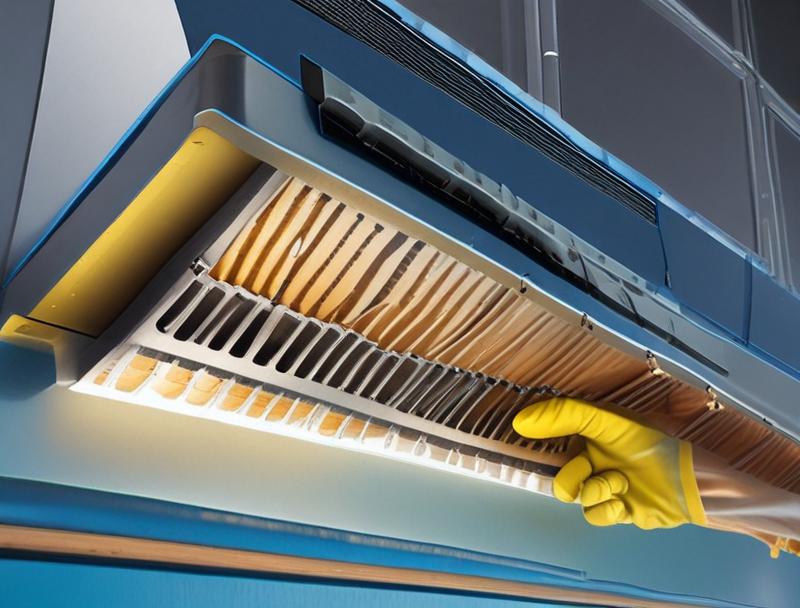
Step 1: Removing the Filters
The first step is to carefully take the filters out of your range hood. Most filters have a small latch or handle that you can pull or slide. Sometimes they might be a little sticky from old grease.
Don’t force them too hard. If they feel stuck, gently wiggle them while pulling.
- Locate the Filters: Look under your range hood. You’ll usually see one or two metal filters.
- Release Mechanism: Most hoods have a lever, clip, or button on the filter itself or on the hood frame. Push or pull this to release the filter.
- Gentle Removal: Once released, pull the filter straight down or out. Be prepared for a bit of grease to drip.
Scenario Example: Imagine you have a GE range hood. You might find a small lever on the front edge of each filter. Pressing this lever allows you to slide the filter out of its slot.
Another common design involves clips that you squeeze to release. Always check your hood’s manual if you’re unsure how to remove your specific filters.
Step 2: The Soak
Once the filters are out, it’s time for them to have a good soak. This helps loosen up all the baked-on grease. A good soak makes the scrubbing part much easier.
- Fill Your Sink/Basin: Fill your sink or a large basin with very hot water.
- Add Soap and Baking Soda: Pour in a generous amount of degreasing dish soap. Add about half a cup of baking soda.
- Submerge Filters: Place the greasy filters into the hot, soapy water. Make sure they are fully covered. Let them soak for at least 15-30 minutes. For very greasy filters, you might need to soak them longer, even an hour or more.
Real-Life Example: Sarah hadn’t cleaned her range hood filters in months. When she removed them, they were caked with thick, black grease. She filled her sink with hot water, added a lot of dish soap and some baking soda, and submerged the filters.
After soaking for an hour, she noticed the grease was already starting to peel away from the metal, making her job much easier.
Step 3: Scrubbing Away the Grease
After soaking, the grease should be much softer. Now it’s time to scrub. This is where you really get them clean.
Take your time and get into all the nooks and crannies.
- Gentle Scrubbing: Use your soft brush or sponge to scrub away the loosened grease. Work in the direction of the filter’s metal lines if possible.
- Rinse and Repeat: Rinse the filter under hot running water. If you still see grease, scrub again. You might need to do this a few times to get them completely clean.
- Stubborn Spots: For really tough spots, you can make a paste of baking soda and water. Apply it to the spot, let it sit for a few minutes, then scrub.
Step 4: Rinsing and Drying
Once you’re happy with how clean the filters look, it’s time to rinse them well and let them dry. This is the final step before putting them back.
- Thorough Rinse: Rinse the filters under clean, hot water. Make sure all the soap and loosened grease are gone. You don’t want any soap residue left behind.
- Shake Off Excess Water: Give the filters a good shake to get most of the water off.
- Air Dry Completely: Lay the filters on old towels or a drying rack. Let them air dry completely. This is important because putting wet filters back can lead to mold or mildew. Make sure they are bone dry before reinstallation.
Scenario Example: John scrubbed his filters until they looked clean, but when he rinsed them, he noticed a slight soapy film. He realized he needed to rinse them more thoroughly. He held each filter under a strong stream of hot water, turning it to ensure all soap washed away from every surface.
After shaking them dry, he laid them on a clean towel in the sun for an hour until they were completely dry.
Step 5: Reinstalling the Filters
The last step is to put the clean, dry filters back into your range hood. This is usually the reverse of how you took them out.
- Align Properly: Make sure you put the filter back in the correct slot and orientation. They usually only fit one way.
- Secure Them: Push or slide the filter back into place until it clicks or locks securely.
- Test the Hood: Turn on your range hood fan for a minute to make sure everything is working correctly and the filters are secure.
When to Clean Your Range Hood Filters
Knowing how often to clean your filters makes a big difference in keeping your kitchen healthy and your range hood working well. It’s not a task you need to do every single day, but letting them go too long can cause problems. Aim for a regular cleaning schedule.
Frequency Guidelines
For most homes, cleaning your range hood filters once a month is a good rule of thumb. However, this can change based on how often you cook and what you cook. If you do a lot of frying or searing, you might need to clean them more often.
- Monthly Cleaning (Standard Use): If you cook regularly, but not heavily every day, once a month is usually sufficient. This helps prevent significant grease buildup.
- Bi-Weekly Cleaning (Heavy Use): If you fry, sear, or cook foods that produce a lot of smoke and grease often (several times a week), consider cleaning every two weeks.
- Quarterly Cleaning (Light Use): If you use your stove and range hood very lightly, perhaps only a few times a month, cleaning every three months might be enough.
Statistic: Studies suggest that regular cleaning of kitchen exhaust systems can reduce fire hazards by up to 75%.
Signs Your Filters Need Cleaning
Sometimes, you can tell it’s time to clean your filters even if it’s not your scheduled cleaning day. Pay attention to how your range hood is performing and how your kitchen smells.
- Reduced Airflow: If you notice the fan doesn’t seem as strong as it used to be, or the smoke isn’t being pulled up as well, your filters are likely clogged.
- Lingering Odors: If cooking smells hang around your kitchen for a long time after you’re done cooking, it’s a sign the filters aren’t doing their job.
- Visible Grease Buildup: Sometimes, you can see a thick, greasy film on the filters themselves. This is a clear indicator that cleaning is overdue.
Sample Scenario: You just made fried chicken, and even after turning off the range hood, the smell of grease is still very strong in your kitchen. This tells you that your filters are probably very full of grease and need a good cleaning soon.
Advanced Cleaning Tips and Maintenance
While the basic cleaning process works well for most situations, there are a few extra tips and maintenance ideas that can make the job even easier and keep your filters in great shape for longer.
Dealing with Tough Grease
Sometimes, even after soaking and scrubbing, a little bit of stubborn grease might remain. Don’t get discouraged! There are a few tricks for these tough spots.
- Boiling Water Method: For extremely stubborn grease on metal filters, you can try boiling water. Fill a large pot with water and bring it to a boil. Carefully place the filter in the boiling water (it will bubble a lot, so be cautious). Let it simmer for about 10-15 minutes. The heat helps melt away the grease. Be very careful when removing the filter from the boiling water.
- Specialized Degreasers: There are commercial degreasers available that are specifically designed for kitchen use. Follow the product instructions carefully, and always ensure good ventilation when using them.
- Repeat Cleaning Cycle: If a filter is exceptionally greasy, you might need to go through the soaking and scrubbing process more than once. Don’t feel like you have to get it perfect the first time.
Dishwasher vs. Hand Washing
Many people wonder if they can just pop their range hood filters into the dishwasher. While some filters might be dishwasher safe, hand washing is often recommended for the best results and to protect the filters.
| Method | Pros | Cons |
|---|---|---|
| Hand Washing | More control over cleaning, better for stubborn grease, gentler on filters. | Takes more time and effort. |
| Dishwasher | Convenient and hands-off. | May not remove all grease, can damage filters over time, may not fit all dishwashers. |
If you choose to use a dishwasher, place the filters on the top rack. Use a heavy-duty cycle with hot water. It’s a good idea to check your range hood manual to see if your filters are dishwasher safe.
Some filters, especially aluminum ones, can become discolored or damaged in a dishwasher.
Statistic: Approximately 60% of homeowners clean their range hood filters less often than recommended, leading to decreased performance and potential safety issues.
Preventative Measures
Once your filters are clean, you can take steps to keep them cleaner for longer. This will make your next cleaning session much easier.
- Use the Range Hood Consistently: The best way to prevent grease buildup is to use your range hood every time you cook, especially when frying or searing. Turn it on before you start cooking and let it run for a few minutes after you finish.
- Wipe Down Surfaces: After cooking, quickly wipe down the surfaces around your range hood with a damp cloth. This can catch some grease before it settles on the filters.
- Consider Filter Covers (for some types): For certain types of range hoods, filter covers might be available. These can add an extra layer of protection, though they also need to be cleaned or replaced.
Frequently Asked Questions
Question: How often should I clean my range hood filters?
Answer: For most homes, cleaning them once a month is a good routine. If you cook a lot of greasy foods, you might need to clean them every two weeks.
Question: Can I use harsh chemicals to clean my filters?
Answer: It’s best to stick to hot water, dish soap, and baking soda. Harsh chemicals might damage the filters or leave behind residues that are bad for your air quality.
Question: My filters look really bad. Can they be salvaged?
Answer: Most greasy filters can be cleaned with thorough soaking and scrubbing. If they are damaged or severely corroded, you might need to replace them.
Question: What if my filters don’t come out easily?
Answer: Check your range hood’s manual for specific instructions. Sometimes, a little gentle wiggling is needed, but never force them, as you could break them or your hood.
Question: Can I just replace my filters instead of cleaning them?
Answer: Yes, you can buy replacement filters. However, cleaning reusable metal filters is usually more cost-effective and better for the environment.
Summary
Keeping your range hood filters clean is a simple but important task. You learned why it matters for air quality and your appliance. Following the easy steps for washing them with hot water, soap, and baking soda will make them like new.
Remember to clean them about once a month, or more if you cook a lot. Enjoy your fresher kitchen!