
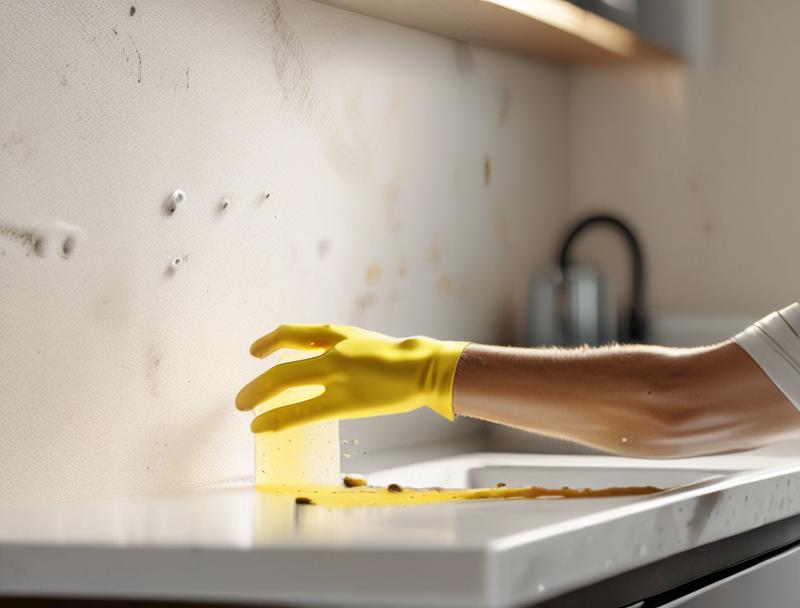
Cooking is fun, but sometimes a little mess happens! Oil splatters on your kitchen walls can look bad and be tricky to clean. You might worry about scrubbing too hard and damaging the paint.
But don’t fret! We’ve got a simple way to help you out. This guide will show you step-by-step How to Remove Oil Splatter from Kitchen Walls.
Get ready to see your walls look clean again without any fuss.
Cleaning Oil Splatter from Your Kitchen Walls
This section is all about giving you the best methods to get those greasy spots off your kitchen walls. We’ll go over why oil splatters happen, what makes them stick, and the easiest ways to tackle them. You’ll learn what simple things you probably already have at home can work wonders.
We want to make this process as easy as possible so you can get back to enjoying your clean kitchen.
Why Oil Splatters Happen
Oil splatters are a common kitchen problem. They happen when hot oil in a pan pops and sprays out. This is more likely when you’re cooking foods with moisture, like frying chicken or bacon.
The water in the food hits the hot oil, causing it to sizzle and splash. This is a normal part of cooking, but it means little droplets of oil can fly onto nearby surfaces, including your walls.
When oil hits a cool surface like a wall, it cools down and leaves a greasy mark. The longer it stays there, the harder it can be to remove. It’s like a tiny, invisible film that builds up over time, especially if you cook fried foods often.
Even just a little bit of oil can create a spot that makes your kitchen look less clean.
Understanding the Challenge for Beginners
For someone new to cleaning tough spots, tackling oil splatter can feel like a big task. You might not know which cleaners are safe for your walls. Some people worry about using harsh chemicals that could ruin the paint.
Others might try scrubbing too hard, thinking more force will clean it better, but this can actually damage the wall’s surface. It’s also hard to know if you’re using the right tools.
The main challenge is finding a balance. You need something strong enough to break down the grease but gentle enough not to harm the paint. Many cleaning products are made for different surfaces, and using the wrong one can lead to streaks or dull spots.
This guide aims to simplify things, showing you what works best for most kitchen paints and how to do it safely.
The Science Behind Greasy Stains
Oil is a type of lipid, which means it doesn’t mix well with water. This is why when you try to wash greasy dishes with just water, they don’t get clean. For cleaning oil splatter from walls, we need something that can break down the oil itself or lift it away.
This usually involves using a substance that can bind to the oil, making it easier to wipe off.
Many common kitchen ingredients have properties that can help. For example, dish soap is designed to cut through grease on dishes. It has special molecules that can surround oil droplets, allowing them to be rinsed away with water.
Other cleaning agents, like baking soda, can work as a mild abrasive. This means they can help scrub away the oil without scratching the wall’s surface.
Simple Solutions for Oil Splatter
This part will walk you through easy ways to clean oil splatters using things you likely have around your house. We’ll cover different cleaning mixtures and the best ways to apply them. You’ll learn how to make your walls sparkle again without needing fancy cleaners.
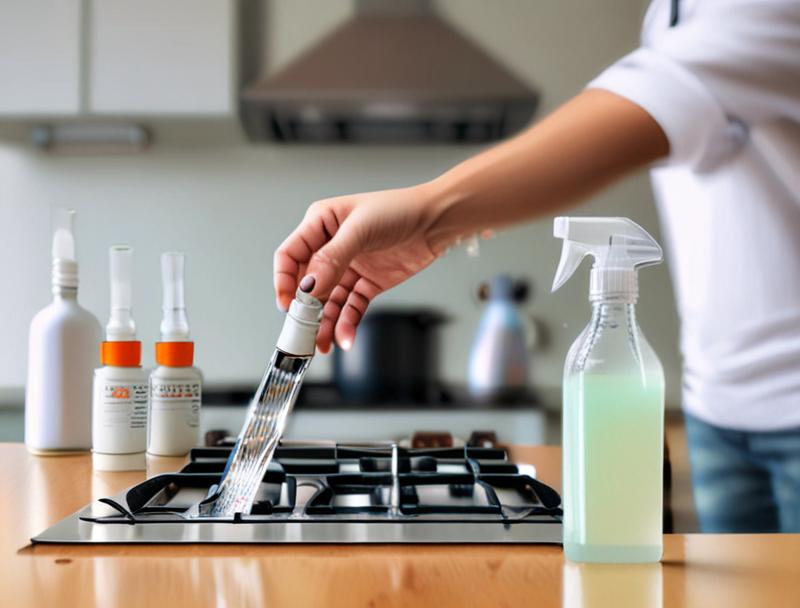
Dish Soap Method
Dish soap is a kitchen superhero when it comes to cutting grease. It’s made to break down the oils and fats that stick to dishes, and it works just as well on your walls. You’ll need a gentle dish soap, warm water, and a soft cloth or sponge.
Start by mixing a few drops of dish soap into a bowl of warm water. Don’t make it too sudsy; you just need enough to get the cleaning power. Dip your cloth or sponge into the soapy water, then wring it out well.
You want it damp, not dripping wet, to avoid damaging the wall or spreading the mess.
How to Apply and Wipe
Gently wipe the oily spots on your wall with the damp cloth. Work in small sections. For tougher spots, you might need to hold the cloth on the area for a moment to let the soap work.
Avoid scrubbing hard, as this can harm the paint. After wiping, use a clean cloth dampened with plain water to rinse away any soap residue.
Finally, dry the area with a clean, dry cloth. This prevents water spots from forming. This method is great because dish soap is mild and effective for everyday grease.
It’s a go-to for many home cooks because it’s safe and gets the job done.
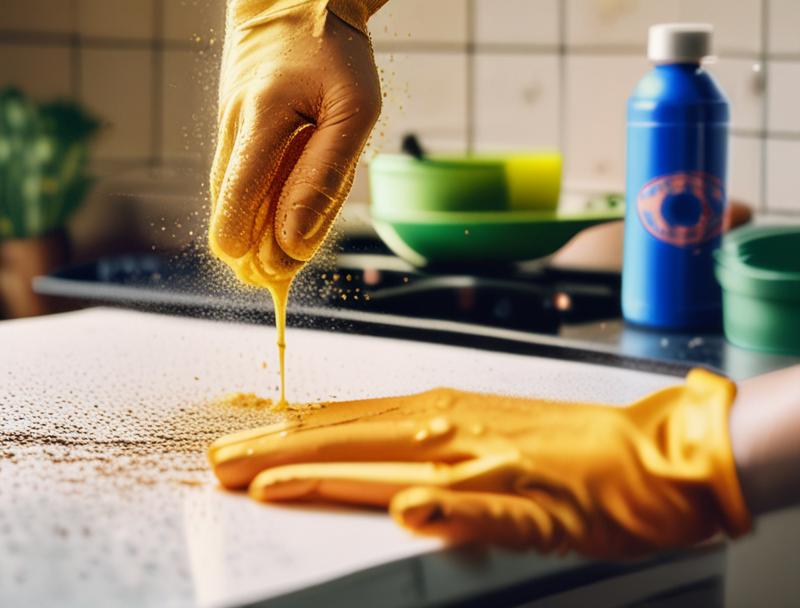
Baking Soda Paste
Baking soda is a fantastic natural cleaner. It’s a little gritty, which helps to gently scrub away grease without scratching. Making a paste with baking soda and water is a simple yet powerful way to lift oil splatter.
To make the paste, mix about two parts baking soda with one part water. Stir it until you have a thick paste that you can spread. It should be like toothpaste.
You don’t want it too watery, or it won’t stick to the wall well. This paste is good for spots that seem a bit more stubborn.
Applying and Removing the Paste
Use a soft cloth or a sponge to carefully apply the baking soda paste directly onto the oil splatters. Gently spread it over the greasy areas. Let the paste sit on the spots for about 10-15 minutes.
This gives the baking soda time to absorb the oil and loosen its grip on the wall.
After waiting, use a clean, damp cloth to wipe away the paste. You might need to do this gently in a circular motion. Rinse your cloth often.
Once all the paste is gone, wipe the area with a cloth dampened with plain water to ensure no baking soda residue is left. Then, dry the wall with a soft, dry towel.
Vinegar Solution
White vinegar is another common household item that’s great for cleaning. Its acidity helps break down grease and grime. A diluted vinegar solution can be very effective for cleaning oily walls.
Mix equal parts white vinegar and warm water in a spray bottle. For instance, if you use 1 cup of vinegar, add 1 cup of warm water. Give the bottle a gentle shake to mix.
This solution is safe for most painted surfaces, but it’s always a good idea to test it in a small, hidden spot first.
Spraying and Wiping Technique
Lightly spray the vinegar solution directly onto the oily areas of your wall. Don’t soak the wall. Let the spray sit for a few minutes to allow the vinegar to work on the grease.
Then, use a clean, soft cloth or sponge to gently wipe the splatters away. You should see the grease start to lift.
After you’ve wiped the spots, use another clean cloth dampened with plain water to rinse the area. This removes any vinegar residue and its strong smell. Finally, dry the wall thoroughly with a soft, clean towel to prevent water spots and streaks.
Using Commercial Cleaners Safely
While home remedies are great, sometimes you might need a stronger cleaner. If you choose to use a commercial product, always read the label carefully. Look for a cleaner that is safe for painted surfaces and specifically mentions grease removal.
When using any commercial cleaner, wear gloves to protect your skin. Always test the cleaner in an inconspicuous area first, like behind an appliance or in a low-traffic spot. This is to make sure it doesn’t damage or discolor your paint.
Make sure the area you are cleaning is well-ventilated by opening windows.
Application and Rinsing
Follow the product’s instructions precisely. Usually, you’ll spray the cleaner onto a cloth rather than directly onto the wall, especially if the cleaner is potent. Then, gently wipe the oil splatters.
Avoid harsh scrubbing. After cleaning, it’s important to rinse the area thoroughly with a damp cloth to remove all chemical residue.
Leaving cleaner on the wall can damage the paint over time or leave sticky spots. Always finish by drying the wall with a clean, soft towel. Proper ventilation and rinsing are key to safely using these products and achieving a clean result.
Preventing Future Oil Splatters
Keeping your kitchen walls clean also means stopping the mess before it starts. This section offers simple tips and tricks to reduce oil splatters during cooking. You’ll learn how to protect your walls with minimal effort.
Cooking Techniques to Minimize Splatter
Certain cooking methods create more splatter than others. When frying, try to keep your oil temperature at the right level. If the oil is too hot, it can cause violent splattering.
Also, avoid overcrowding your pan, as this can lower the oil temperature and lead to steaming, which also causes splashes.
Patting your food dry before frying is a big help. For example, if you’re frying chicken or fish, use paper towels to remove as much surface moisture as possible. Less water means less steam and fewer oil droplets flying out of the pan.
Using Splatter Guards and Shields
A splatter guard is a simple mesh screen that you place over your pan. It allows steam to escape but keeps oil droplets contained. They come in various sizes and are easy to clean.
They are a very effective tool for preventing grease from reaching your walls and stovetop.
You can also use a lid partially on the pan, leaving a small gap for steam to escape. However, be careful with this method, as it can trap steam and make food less crispy. Splatter screens are generally preferred for frying applications as they offer better ventilation.
Choosing the Right Cookware
The type of pan you use can also make a difference. Pans with high sides, like woks or deep skillets, are better at containing splatters than flat, shallow pans. This is especially true when cooking larger batches or foods that tend to pop a lot, like bacon.
Deep-fat fryers with lids or splash guards are also designed with splatter prevention in mind. If you do a lot of frying, investing in cookware that helps manage splatters can save you a lot of cleaning time and effort in the long run.
Location, Location, Location
Think about where you place your cooking appliances and how you position your pans. If your stovetop is directly against a wall, splatters are more likely to hit it. If possible, try to keep your stovetop a little distance from the wall, or use a backsplash.
A backsplash, often made of tile or stainless steel, is designed to protect walls from cooking messes. It’s easy to wipe down and can withstand more heat and scrubbing than painted drywall. If you can’t install a backsplash, using a portable screen or shield becomes even more important.
Dealing with Stubborn Stains
Sometimes, oil splatters can be old or particularly stubborn. This section gives you a few extra tips for tackling those tough spots that don’t come off with regular cleaning.
The Power of Hot Water and Degreaser
For very old or thick oil buildup, hot water can help soften the grease. You can use hot water combined with a good degreaser. Many dish soaps are excellent degreasers, but there are also specialized kitchen degreaser sprays available.
When using a commercial degreaser, always follow the product instructions. Some may require you to let the product sit for a few minutes to break down the grease before wiping. Always ensure good ventilation when using strong cleaning agents.
Gentle Scrubbing Tools
If wiping isn’t enough, you might need a very soft scrubbing tool. A non-scratch scrub sponge is a good option. Avoid abrasive pads like steel wool, as they will definitely scratch your paint.
Even a soft toothbrush can be helpful for getting into small areas or for very targeted scrubbing on tough spots.
Remember to always use a gentle touch. The goal is to lift the grease, not to remove the paint from your walls. If you feel like you’re having to scrub too hard, the cleaner might not be strong enough, or the stain might be too set in for that method.
In such cases, repeat the application of the cleaner.
When to Consider Professional Help or Repainting
If you’ve tried several methods and the oil stains are still visible, it might be time to consider repainting that section of the wall. Sometimes, oil can soak into the paint, making it impossible to remove completely without affecting the surface. A fresh coat of paint can make your kitchen look brand new.
For very severe cases, or if you’re unsure about damaging your walls, you could consult a professional cleaning service. They have access to specialized products and techniques. However, for most typical oil splatters, the methods described here should be more than sufficient.
Frequently Asked Questions
Question: Can I use glass cleaner on oil splatter?
Answer: Glass cleaner isn’t typically effective for oil splatter on walls because it’s designed for glass and doesn’t have strong degreasing properties. It might remove light grease but won’t tackle stubborn, baked-on oil stains.
Question: How often should I clean my kitchen walls?
Answer: It’s a good idea to wipe down your kitchen walls around the stovetop regularly, perhaps once a week, to prevent grease buildup. Deep cleaning can be done as needed, or a few times a year.
Question: Will cleaning oil splatter damage my paint?
Answer: If you use gentle methods and cleaning agents designed for home use, it’s unlikely to damage your paint. However, harsh scrubbing or very strong chemicals could potentially affect the paint finish.
Question: Can I use a magic eraser on oil splatter?
Answer: Magic Erasers can be effective on oil splatter, but they are mildly abrasive. Use them with caution and gentle pressure, as they can sometimes dull or remove paint, especially on matte finishes. Test in an inconspicuous area first.
Question: Is it safe to use bleach on oil splatter?
Answer: While bleach can disinfect, it’s not the best choice for oil splatter on painted walls. It can be too harsh, potentially damage paint colors, and is not a primary degreaser. Stick to dish soap, vinegar, or specialized kitchen degreasers for better results and less risk to your walls.
Wrap Up
Getting rid of oil splatters on kitchen walls is easier than you think. Simple items like dish soap, baking soda, and vinegar can make your walls look clean again. Try these gentle methods first.
Protect your walls from future messes by using splatter guards. You can enjoy a sparkling clean kitchen with these practical steps.