
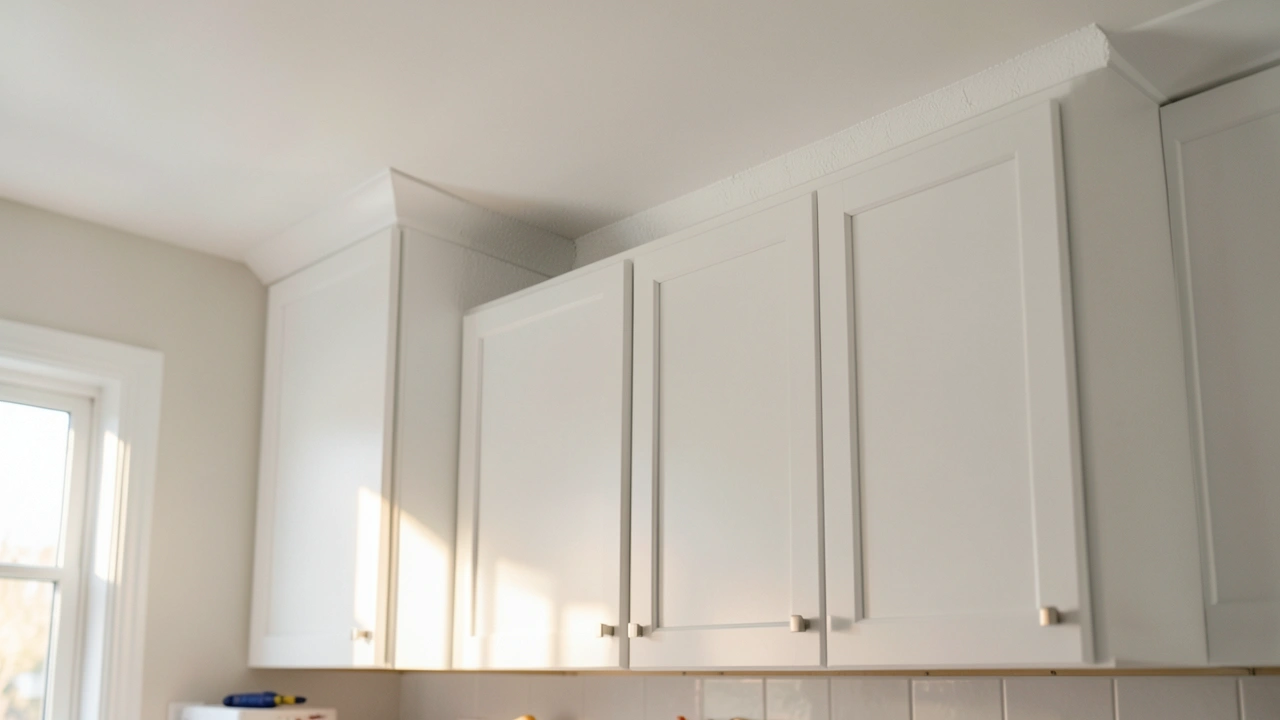
It’s a common sight in many kitchens: a small, annoying gap between the top of your cabinets and the ceiling. For folks just starting out with home improvement, figuring out How to Fix Gaps Between Kitchen Cabinets and Ceiling can seem a bit tricky. You might wonder if it’s a big job or if you need special tools.
Don’t worry! This guide will show you how to handle it easily, step by step. We’ll look at what causes these gaps and then walk through simple ways to make them disappear.
Why Cabinet-to-Ceiling Gaps Appear
Gaps between kitchen cabinets and the ceiling are pretty common, especially in older homes. They often show up because of the way houses settle over time, or maybe the cabinets weren’t installed perfectly level to begin with. Sometimes, even small shifts in your home’s foundation can cause cabinets to pull away slightly from the ceiling.
Understanding these reasons helps you pick the best fix. This section will break down the main culprits.
Natural Settling of Homes
Homes are not static structures. Over years, the wood in the framing can dry out and shrink. Also, the ground underneath can shift slightly due to moisture changes.
These tiny movements, though usually unnoticeable day-to-day, add up. Over time, they can cause walls and ceilings to move just a little bit.
When walls or ceilings move, cabinets attached to those walls can also move. If the cabinets were installed flush with the ceiling at first, any downward or outward shift in the wall can create a gap at the top. It’s like a slow, natural process that affects the entire house.
Installation Imperfections
Not every kitchen cabinet installation is perfect. Sometimes, the ceiling itself might not be perfectly flat or level. If the installer didn’t account for this, they might mount the cabinets flush with what they thought was the ceiling line.
As a result, an uneven ceiling means an uneven gap above the cabinets.
Another common issue is that the wall studs might not be perfectly plumb (vertical). If cabinets are mounted to these slightly crooked studs, they can end up leaning out from the wall at the top. This creates a noticeable gap.
Even a small difference can be seen when looking up.
Changes in Humidity and Temperature
Wood is a natural material, and it expands and contracts with changes in humidity and temperature. Your kitchen, with its cooking and dishwashing, often has higher humidity. This can cause the wood in your cabinets and the surrounding framing to swell.
When temperatures change, or humidity drops, the wood shrinks back.
These constant small expansions and contractions can put stress on the cabinet installation. Over time, this can lead to slight separations, especially at the top where cabinets meet the ceiling. It’s a subtle force that contributes to those gaps.
Simple Solutions for Fixing Cabinet Gaps
Now that we know why these gaps appear, let’s talk about how to fix them. The good news is that most of these fixes are pretty straightforward and don’t require advanced DIY skills. We’ll cover a few methods, from easy fillers to adding decorative elements.
The goal is to make that gap blend in so your kitchen looks complete.
Using Caulk for Small Gaps
For small, consistent gaps (about 1/8 inch to 1/4 inch wide), caulk is your best friend. It’s flexible, easy to use, and comes in colors that can match your cabinets or ceiling. This is often the quickest and cleanest way to seal up minor imperfections.
You’ll want to use paintable caulk if you plan to paint it.
Caulking involves applying a bead of sealant into the gap. It smooths out to create a seamless finish. This method is great because it doesn’t add any bulk to your cabinets and looks like part of the wall when done well.
Steps for Caulking:
- Clean the Area: Make sure the gap and the surfaces above and below it are clean and free of dust or grease. A damp cloth works well.
- Prepare the Caulk Gun: Cut the tip of the caulk tube at a 45-degree angle. Make sure the opening is small enough for a controlled bead.
- Apply the Caulk: Hold the caulk gun at a 45-degree angle to the gap. Apply steady pressure and move the gun smoothly along the gap, filling it completely.
- Smooth the Bead: Use a damp cloth, your finger (dipped in water), or a caulk-smoothing tool to gently wipe away excess caulk and create a smooth, consistent line.
- Clean Up: Wipe away any stray caulk immediately with a damp cloth. Let it dry completely according to the caulk manufacturer’s instructions.
One key tip is to practice applying a bead on scrap cardboard first. This helps you get a feel for the pressure and speed needed for a neat finish.
Adding Trim or Molding
If the gaps are wider or more irregular, caulk might not be enough. In these cases, adding a decorative trim or crown molding can be a fantastic solution. This not only covers the gap but also adds a polished, high-end look to your kitchen.
It makes the cabinets look more integrated with the ceiling.
Crown molding is designed for this exact purpose. It’s a piece of decorative wood or composite material that sits at an angle between the cabinet and the ceiling. It visually bridges the gap and adds architectural detail.
Types of Trim and How They Work:
- Crown Molding: This is the most popular choice. It has a distinctive curved profile that creates a beautiful transition. You can find it in various styles and materials, from simple to ornate.
- Simple Wood Trim: A straight piece of wood trim, like a small rectangular molding, can also be used. It’s a more modern or minimalist look. You would attach this directly to the top of the cabinets and/or the ceiling.
- Flexible Molding: For slightly curved ceilings or cabinets, flexible molding made of polyurethane can be a great option. It bends easily to conform to shapes.
When choosing trim, consider the overall style of your kitchen. A more traditional kitchen might suit ornate crown molding, while a modern kitchen could look great with a simple, clean-lined wood strip.
Steps for Installing Trim:
- Measure the Gap and Area: Measure the length of the gap along the cabinets. Decide on the width and style of trim you want.
- Cut the Trim: Carefully measure and cut your chosen trim to fit the length of the cabinets. Use a miter saw for precise, angled cuts, especially for corners.
- Attach the Trim: Apply wood glue to the back of the trim. Then, secure it in place using a nail gun with finishing nails or by carefully hammering small finishing nails. Aim the nails into the cabinet top and the ceiling or wall above.
- Fill Nail Holes and Gaps: Use wood filler or putty to fill any nail holes. For any remaining small gaps between the trim and the cabinet/ceiling, use paintable caulk.
- Paint or Stain: Once the filler and caulk are dry, paint or stain the trim to match your cabinets or ceiling for a seamless look.
If you’re unsure about cutting angles for crown molding, many home improvement stores offer cutting services, or you can find online tutorials specific to miter cuts for trim.
Creating a False Bulkhead or Soffit
For larger, uneven gaps, or if you want a more built-in look, you can construct a false bulkhead or soffit. This is essentially a box-like structure that extends from the top of the cabinets up to the ceiling. It completely hides the gap and can create a very finished appearance.
A soffit is typically a horizontal surface, while a bulkhead is more of a vertical or angled structure. In kitchen cabinet applications, it often refers to a box that encloses the space above the cabinets. This method requires a bit more carpentry skill but can dramatically change the look of your kitchen.
When to Consider a Soffit/Bulkhead:
- Very Large or Irregular Gaps: When the space is too wide for caulk or trim, a soffit is a practical solution.
- Desire for a Custom Look: A soffit can be designed to match your cabinets or create a unique architectural feature. It can also be a place to add lighting.
- Hiding Other Issues: Sometimes, there are pipes or ductwork in the ceiling space that you might want to conceal. A soffit can serve this purpose too.
Building a soffit involves framing out a box shape using wood studs or furring strips, then covering it with drywall or plywood. It’s a more involved project, but the results can be very impressive and professional-looking.
Basic Soffit Construction Outline:
- Plan and Measure: Determine the desired depth and height of your soffit. Measure the total length needed.
- Build the Frame: Construct a sturdy frame using wood (like 1×3 or 2×2 lumber) that attaches to the wall and the top of the cabinets. Ensure it is level and secure.
- Cover the Frame: Attach drywall, plywood, or MDF to the frame to create the soffit surface.
- Finish the Surfaces: Tape and mud any seams if using drywall. Sand smooth.
- Paint or Apply Finish: Paint the soffit to match your cabinets or ceiling, or apply a different finish for a contrasting look.
This approach allows you to control the exact appearance and can even incorporate features like recessed lighting for added ambiance.
Assessing Your Gap and Choosing the Right Fix
Before you grab your tools, it’s important to take a good look at the gap you’re dealing with. Not all gaps are created equal, and the size and shape of the space will guide you to the best solution. This step is crucial for a successful and long-lasting fix.
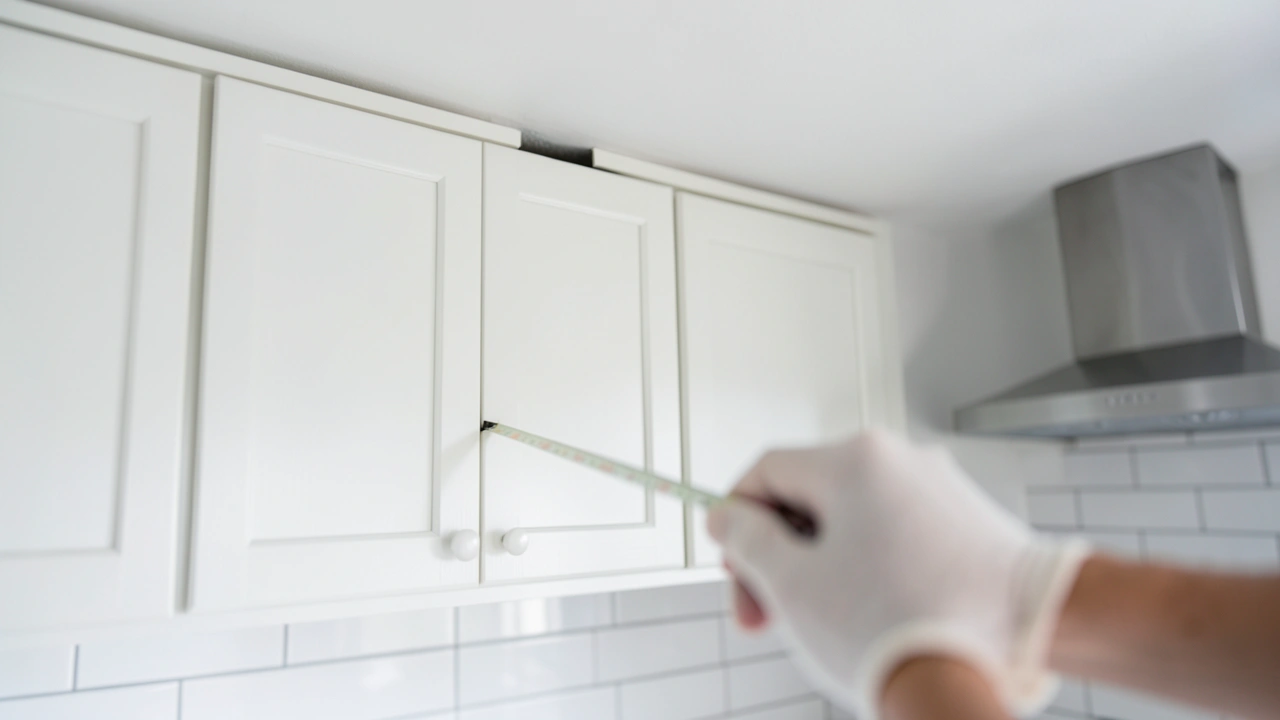
Measuring the Gap
Use a measuring tape or a ruler to get an accurate measurement of the gap’s width. Measure in several places along the length of the cabinets. This will tell you if the gap is consistent or if it varies.
Also, look at the depth of the gap. Is it just a thin line, or does it recede quite a bit? A very shallow gap is easily handled by caulk.
A deeper gap might need a filler material or trim.
Considering Cabinet Style and Ceiling Height
The style of your cabinets and the height of your ceiling play a role. If you have very tall ceilings, a large gap might be more noticeable. In such cases, a more substantial fix like crown molding or a soffit might be needed to balance the proportions.
For standard cabinets and ceilings, you have more flexibility. If your cabinets have decorative edges, you’ll want to choose trim that complements them. The overall aesthetic of your kitchen should guide your decision.
Quick Guide to Gap Sizes and Solutions:
| Gap Size | Recommended Solution |
|---|---|
| 1/8 inch – 1/4 inch | Caulk (paintable) |
| 1/4 inch – 1 inch | Trim/Molding, or specialized gap filler |
| Over 1 inch or Uneven | Crown Molding, False Bulkhead/Soffit |
It’s always better to overestimate slightly when choosing materials for a larger gap. It’s easier to cut down a piece of trim than to try and stretch it.
Evaluating Your DIY Skills and Tools
Be honest about your comfort level with home repairs. Caulking is a beginner-friendly task. Installing trim requires a bit more precision, especially with cuts.
Building a soffit is a more advanced project.
Think about the tools you have or can easily borrow. A good caulk gun is inexpensive. For trim, a miter saw is highly recommended for clean cuts, but you can manage with a handsaw and miter box for smaller projects.
Essential Tools for Common Fixes:
- For Caulking: Caulk gun, paintable caulk, utility knife (to open tube), damp cloths or sponge, caulk smoothing tool (optional).
- For Trim: Measuring tape, pencil, miter saw (or handsaw and miter box), wood glue, finishing nails, hammer or nail gun, wood filler, sandpaper.
If a project seems too challenging, consider hiring a handyman. For a few hundred dollars, they can often complete the job professionally, saving you time and potential frustration.
Preventing Future Gaps
Once you’ve fixed those gaps, you’ll want to keep them from coming back. While you can’t stop your house from settling entirely, there are things you can do to minimize movement and maintain your cabinets.
Regular Maintenance Checks
Periodically check your cabinets and the area around them. Look for any new signs of cracking or separation. Early detection makes any necessary fixes much simpler.
A quick visual inspection every few months can save you a lot of work later.
Also, pay attention to any drafts or air leaks around your kitchen. Sealing these can help control humidity and temperature fluctuations, which can reduce wood movement.
Ensuring Proper Ventilation
Good ventilation in your kitchen is key. Using your range hood when cooking helps remove moisture and heat. Proper airflow around your cabinets can also prevent excessive humidity buildup.
This is especially important in older homes where insulation might not be as effective.
Consider a small dehumidifier for your home during humid seasons if you live in a particularly damp climate. This can help stabilize the environment for your cabinetry.
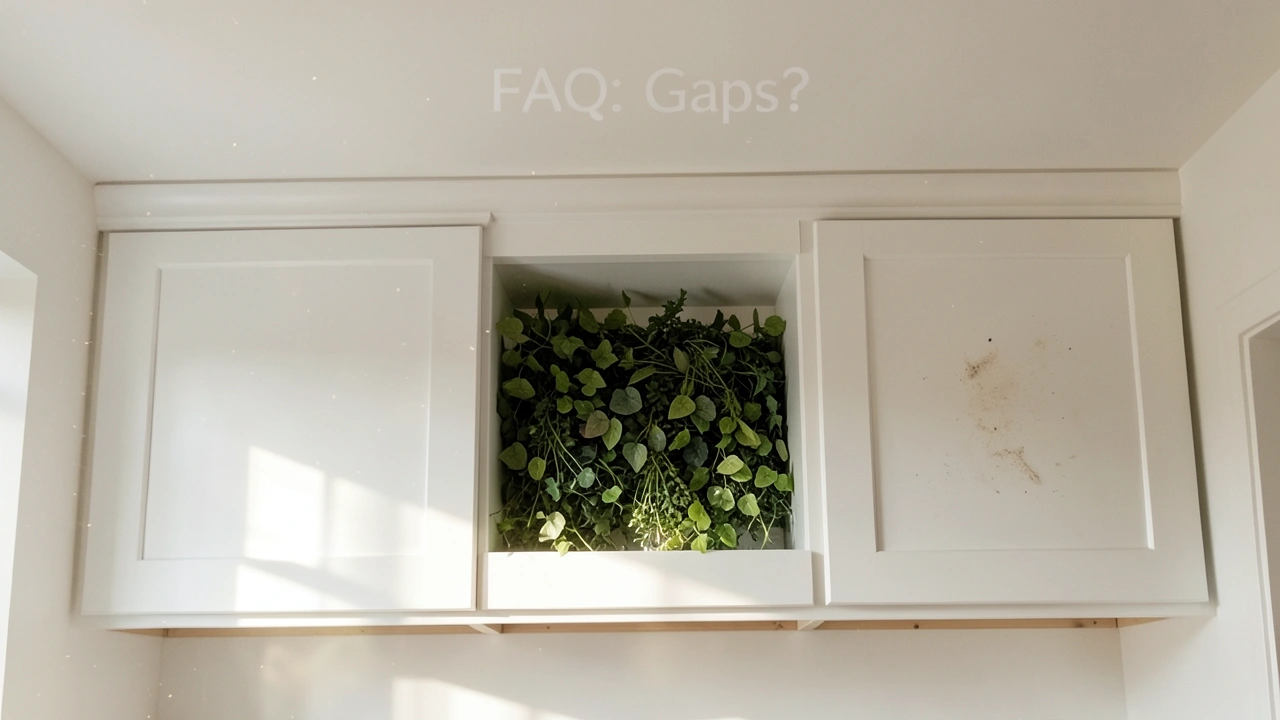
Frequently Asked Questions
Question: How much caulk do I need for my cabinets?
Answer: It depends on the total length of the gap. A standard 10-ounce tube of caulk can cover about 25-50 linear feet, depending on how wide a bead you apply. It’s always better to buy a bit extra just in case.
Question: Can I use wood filler for gaps larger than an inch?
Answer: While wood filler can fill small holes and gouges, it’s not ideal for large gaps between cabinets and the ceiling. It can become brittle and crack over time. For larger gaps, trim or a soffit is a much more stable and attractive solution.
Question: Do I need to remove my cabinets to fix the gap?
Answer: No, for most common fixes like caulking or adding trim, you do not need to remove your cabinets. These methods are designed to be applied with the cabinets in place.
Question: What is the difference between a soffit and a bulkhead?
Answer: A soffit is typically a horizontal surface that covers an overhead space, often used to conceal pipes or ductwork. A bulkhead is generally a more vertical or angled structure. In the context of kitchen cabinets, the terms are often used interchangeably for the box-like structure added above them to hide gaps.
Question: How can I ensure my trim matches my existing cabinets?
Answer: The best way is to bring a small sample of your cabinet material (if possible) to a paint or hardware store to get a color match. You can also buy unfinished wood trim and paint or stain it yourself to perfectly match your cabinets.
Summary
Fixing gaps between kitchen cabinets and the ceiling is a common home improvement task. We explored why these gaps happen and offered simple, effective solutions like caulking for small spaces and adding trim or a soffit for larger ones. You now have the knowledge to assess your gap and choose the best method for a polished finish.
Get ready to enjoy a more complete and beautiful kitchen!

Leave a Reply